How do I Optimize images for my website?
How do I Optimize images for my website?
Images make a website more visually appealing and are such an important part of a website, as you might want to showcase your photography, service, product or portfolio. However, images need to be a large size to look good on a website but this means they take a long time to load. This is not the best experience for your visitor if they are having to wait for images to load.
Optimizing images is a way to decrease image file sizes so that they will then load faster on your website and help your website pages load faster which is a much better user experience for your website visitors. Not only is decreasing your website load time good for your visitor but it also improves your Search Engine
Continue Reading to see the 3 steps I use to Optimize images for websites?
How do I optimize images for my website?
Step 1
Make sure your images are large enough for the screen they will be viewed on.
Think about what devices they are going to be seen on. Since we are talking about optimising for websites, most people are viewing websites using a computer or mobile devices such as smartphones and tablets.
Most computer monitors have a resolution from 1200 to 1920px wide. So you will need to make sure your images are large enough for this screen size. For example, if you have an image that is 400px wide and you want to add it as a full-width image on your website, it is going to get very stretched out and become very pixelated to try and fill in that space so it won’t look good.
Another example is that you have a very large image of 4200px wide and you add this to your website, this is going to take way too long to load and you may not even be able to load the photo due to
Let me give you some examples of the sizes I use for my websites.
For a Full-Width image (header image) -1280px wide.
If I have 2 images next to each other – 620px wide.
If I have 3 images in a row – 420px wide.
Because people are viewing on larger monitors it is recommended to make images larger at 1920px wide, but again this takes longer to load so I always stick to 1280px wide to keep my site faster and the images still look good on larger screens
How do I resize my images?
I use Photoshop to resize my images but if you don’t have Photoshop you can use free tools such as Canva or Gimp to make these image adjustments.
Step 2
Save your images in the right format. There are two formats that are considered the best for website images.
JPEG and PNG
JPEG files are great for large images with a lots of detail and colour so I would recommend this format for photo’s. JPEG
PNG files are great for graphical images such as Logo’s, especially if you need a transparent background. PNG
Step 3
Compress the image.
What does it mean to compress an image? It basically means to remove anything that the image doesn’t need while still keeping the quality of the image.
How do I compress an image file?
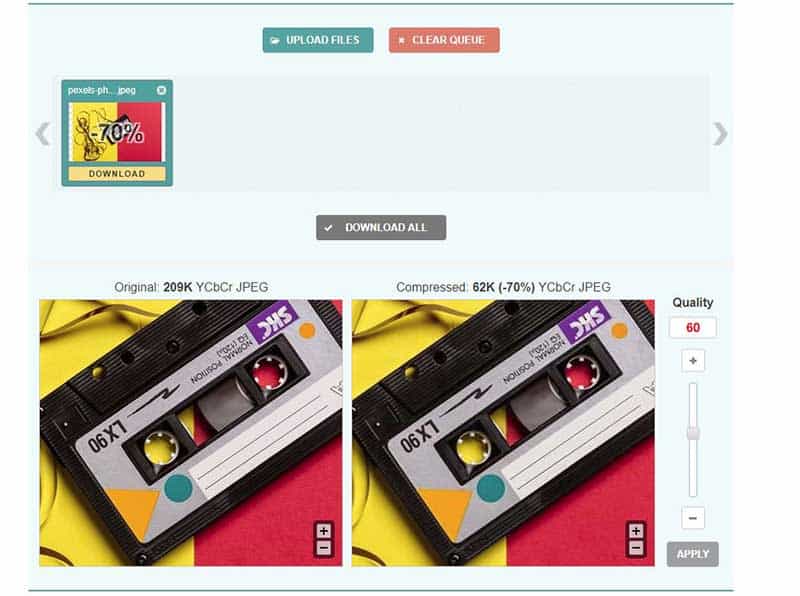
There are some great tools out there that help you compress images. Photoshop is great at compressing images for websites but if you don’t have Photoshop then check out Optimizilla which is a free online tool. You simply add your image and then choose how much you want to compress the image, then download the file.

Optimising images for your website doesn’t need to be scary. Just remember the 3 steps.
1. Make sure its the Right Size for the screen
2. Make sure you save it in the right Format
3
If you can do this for all of your images your website, visitors and Search Engines will thank you.
Until next time lovely humans
Leisa


0 Comments